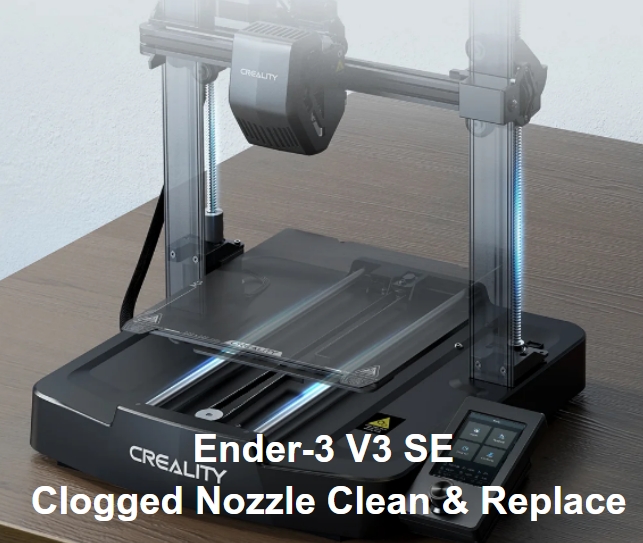
The Ender-3 V3 SE, a highly acclaimed 3D printer released in August 2023, has gained significant popularity for its exceptional performance enhancements, user-friendly interface, and affordability. All3DP hailed it as the top FDM 3D printer priced under $200 in 2024.
This tutorial will delve into the process of utilizing a needle to clean the nozzle and replacing a clogged nozzle on the Ender-3 V3 SE.
Needle Cleaning Nozzle Step-by-step Guide:
-
Select "Prepare" - "Retract" and wait for the machine to home. When the nozzle temperature reaches 240 degrees Celsius and retraction is complete, press and hold the extrusion clip to remove the filament.
-
Select "Back" - "Control" - "Temperature" and adjust the nozzle temperature to 240 degrees Celsius. Once the temperature stabilizes, use the provided silver needle to clean the nozzle from impurities. Ensure all impurities are removed, and clean up any spilled filament afterward.
-
Replace the filament with a new one. Cut the end of the filament at a 45-degree angle, straighten it, and manually feed it into the nozzle until it extrudes.
Nozzle Replacement Tutorial:

-
Select "Prepare" - "Retract" and wait for the machine to home. When the nozzle temperature reaches 240 degrees Celsius and retraction is complete, remove the filament using the extrusion clip.
-
Select "Cooldown" and allow the temperature to drop to 50 degrees Celsius.
-
Select "Move" - "Move Z" and raise the Z-axis to 130mm. Wait for the Z-axis to reach the desired height and then remove the silicone sleeve.
-
Select "Control" - "Temperature" and set the nozzle temperature to 240 degrees Celsius. Wait for the nozzle to reach the set temperature, then use pliers to unscrew the old nozzle and replace it with a new one. Secure the new nozzle by hand, then use a tool and pliers to tighten it in place.
-
Replace the filament by cutting it at a 45-degree angle, straightening it, and feeding it manually into the nozzle until it extrudes. Clean any spilled filament.
-
Select "Cooldown" and wait for the temperature to decrease to 50 degrees Celsius.
-
Select "Move" - "Move Z" to adjust the Z-axis. Once the Z-axis reaches the desired height, install the silicone sleeve securely.


