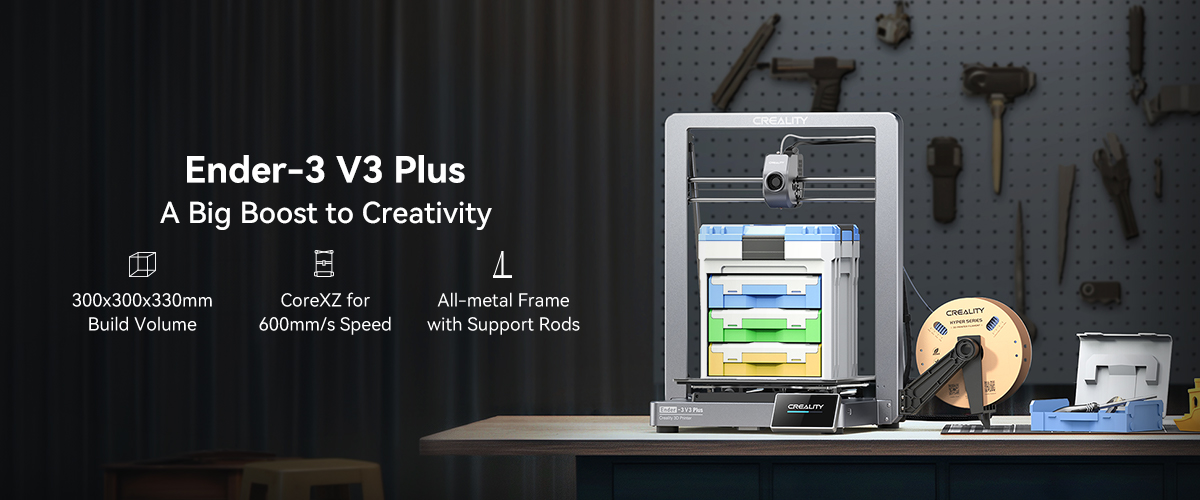
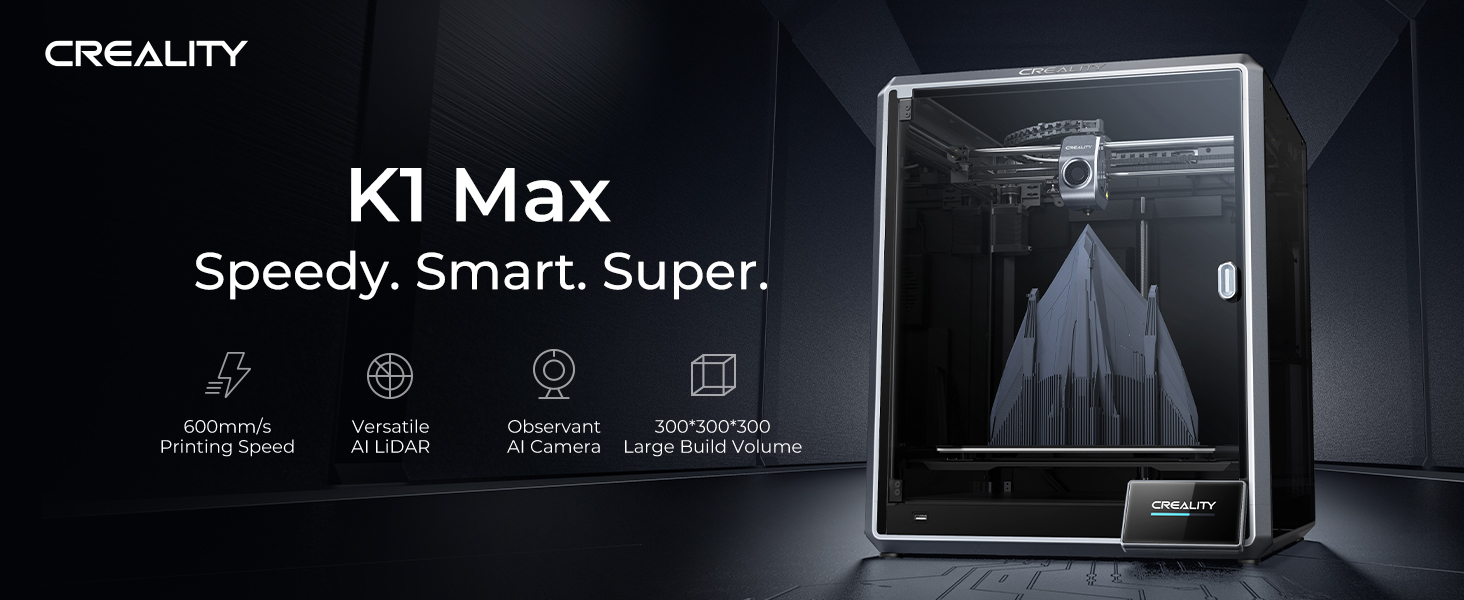
The Ender 5 Plus is one of the the budget 3D printers in Creality Ender Series and is a popular choice due to its large build volume. The Plus printer is an improved version of its Ender 5 predecessors (the original Ender 5 and Ender 5 Pro), but with some hardware enhancements. These upgrades include a filament runout sensor, a pre-installed BLTouch, a touchscreen interface, and more.
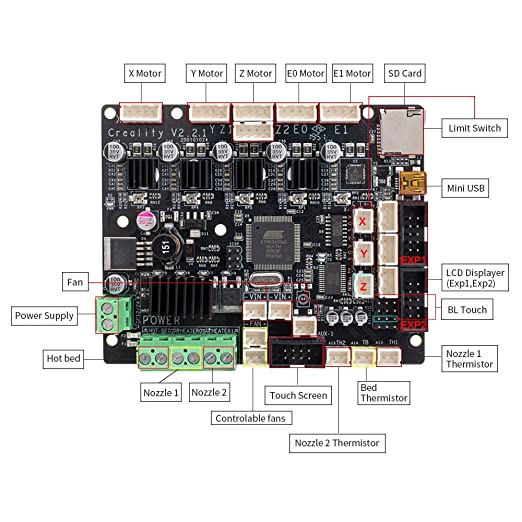
The silent board is a great upgrade for the Ender 5 Plus. The new mainboard is basically the same as the original Ender 5 Plus board TMC2208 Driver. Like the Ender 5 Plus’ stock board, the silent mainboard has six stepper motor ports to allow for dual extrusion and dual Z-axis motors.
Take the time to read this article before you need to install your new motherboard
Steps to Replace the the silent motherboard on my Ender 5 Plus
Step 1:
Prepare your silent board; the wiring diagrams if need.

Step 2. Unplug the printer&Open The Electronics Case
②If you have anything connected (like a Raspberry Pi) to the Mini-USB cable, make sure to remove it. After you’ve removed all power connections to the mainboard, flip the printer on its side, so it doesn’t move.
③Use the Allen keys to open up the under-panel(chassic), where the mainboard is housed.
Move the mainboard fan (attached to the under-panel casing) to the side without putting too much tension on the fan wires.
Step 3. Label All Wires And Disconnect Them From The Board.
Physically, the new board appears to be the same as the old board. All of the connectors go to the same locations.
You’ve taken off the mainboard casing panel, take a picture of the current wiring before unplugging anything.
Or before you disconnect the wires from the board, make sure to label them with a piece of tape so you know what they go to and where to reconnect them later.
Some of the wires clip into place and some require a small flat head screwdriver to remove them from the terminal block gently.
Step 4. Remove The Old Board
Some of the wires clip into place and some require a small flat head screwdriver to remove them from the terminal block gently. There are 5 screws holding the board in place. Remove them gently and the board should lift right out.
Step 5. Install the new board and Attach All The Cables
Reattach all the cables to their proper spots on the new board. Make sure to consult the wiring diagram from previous photos.
Step 6. Power On The Printer and run a test
The silent board comes with the latest firmware from Creality. So we recommend, after making sure that the new board is functioning properly, go ahead and perform a firmware update if needed. OK everything is good, you’ve updated the firmware and configured it to your machine. Print something. You should notice immediately that the stepper motors are significantly decreased in volume. When homing they’ll run at a higher speed and may make a bit of noise but when printing you’ll find them near silent. The loudest component should now be your fans.
Customer Reviews On Youtube: Ender 5 Plus Silent Upgrade. Sound / Noise comparison By Dan Patten


