


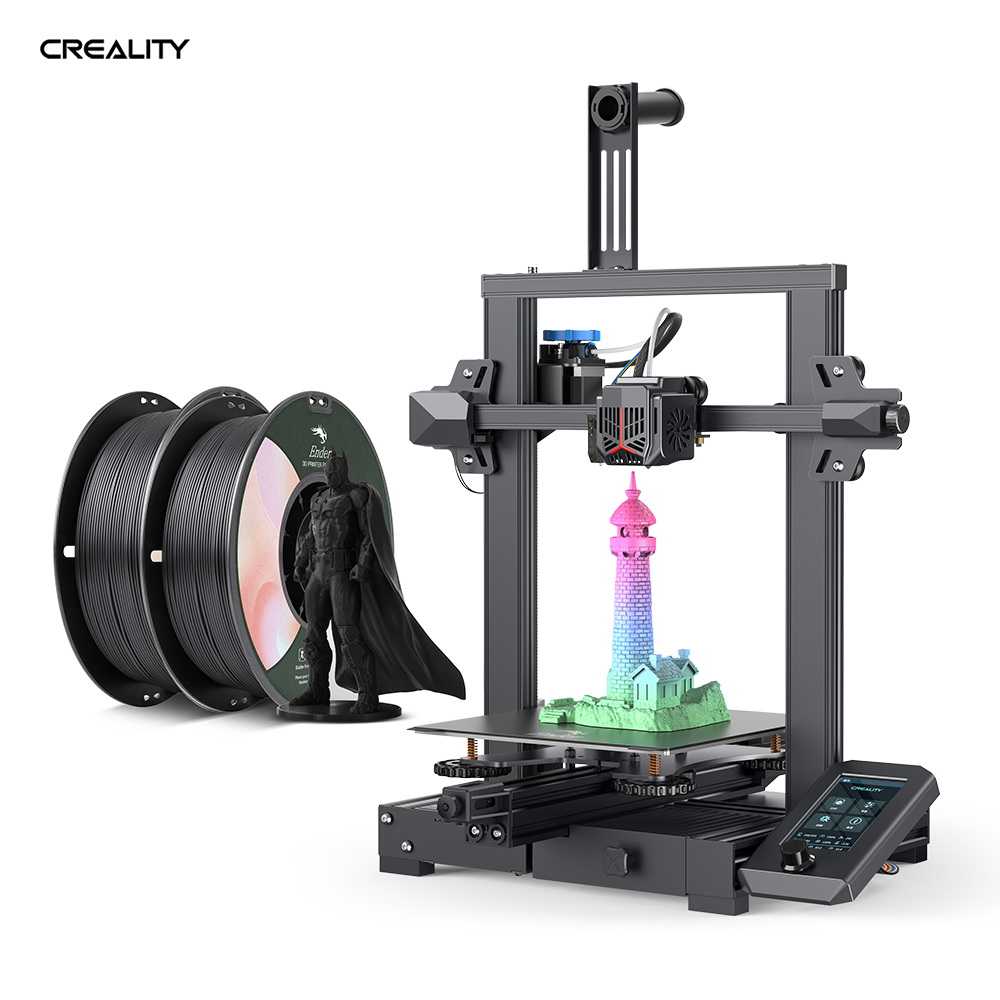
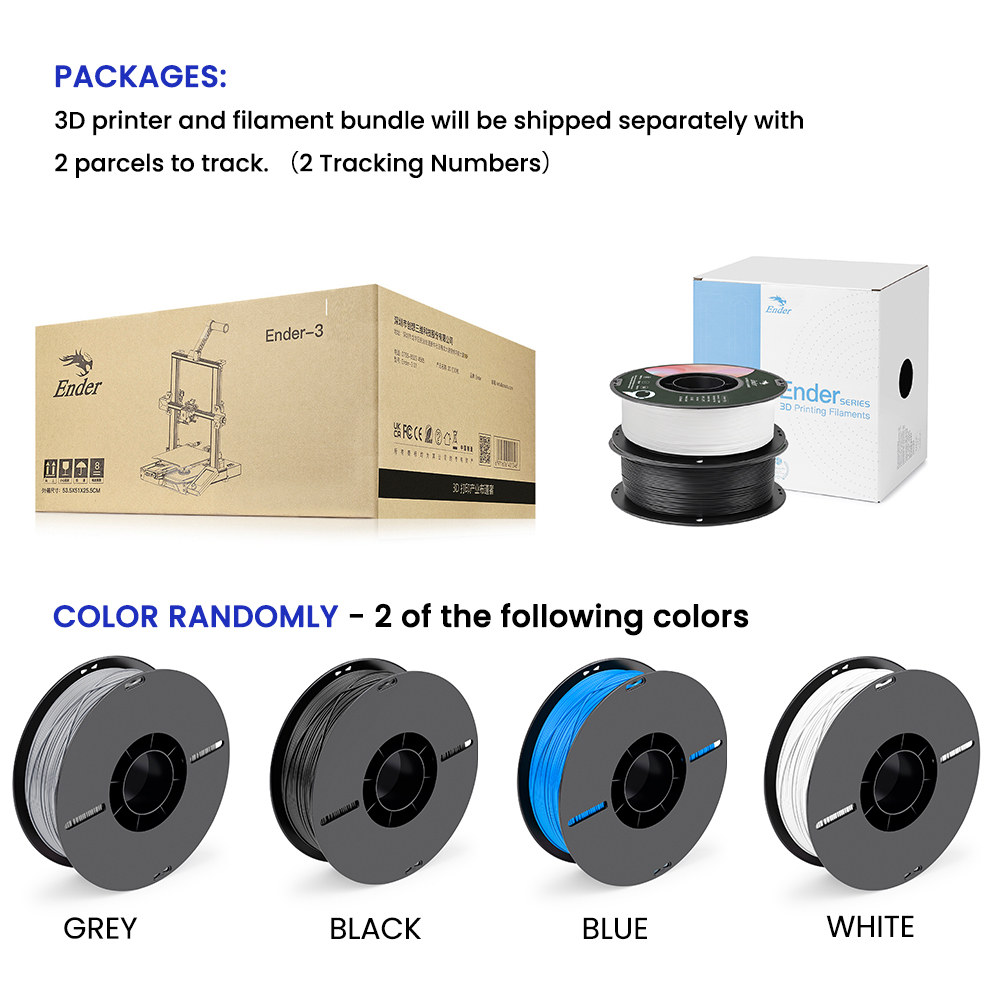


Ender-3V2 Neo 3D Printer & Filament Bundles
Flash Sale.Best Price Today!Get it now!
Creality offers Free Shipping | 1 Year Warranty | 14 Days Return | 24h Customer Service
$ USD
$ USD
Ship From
Bundles
Please select product attributes before purchasing~~
Color
Ship to
It is expected to arrive within and will cost
$
USD to ship
This item can't be shipped to this Country/Region
Bundles
${ meal.title }
${ meal.skus }
${ sku.name }:
${ skuVal }
$${
meal.price }USD
$${
meal.oldPrice }USD
Quantity
28 Available
Add To Cart
Buy It Now
Ender-3V2 Neo 3D Printer & Filament Bundles
${propertiesText}
x ${productNum}
Added to the cart
Continue To Shopping
View Cart

- VIDEO GUIDES / UNBOXING / DEPTH REVIEWS -
- 3V2 Neo Unboxing and Printing
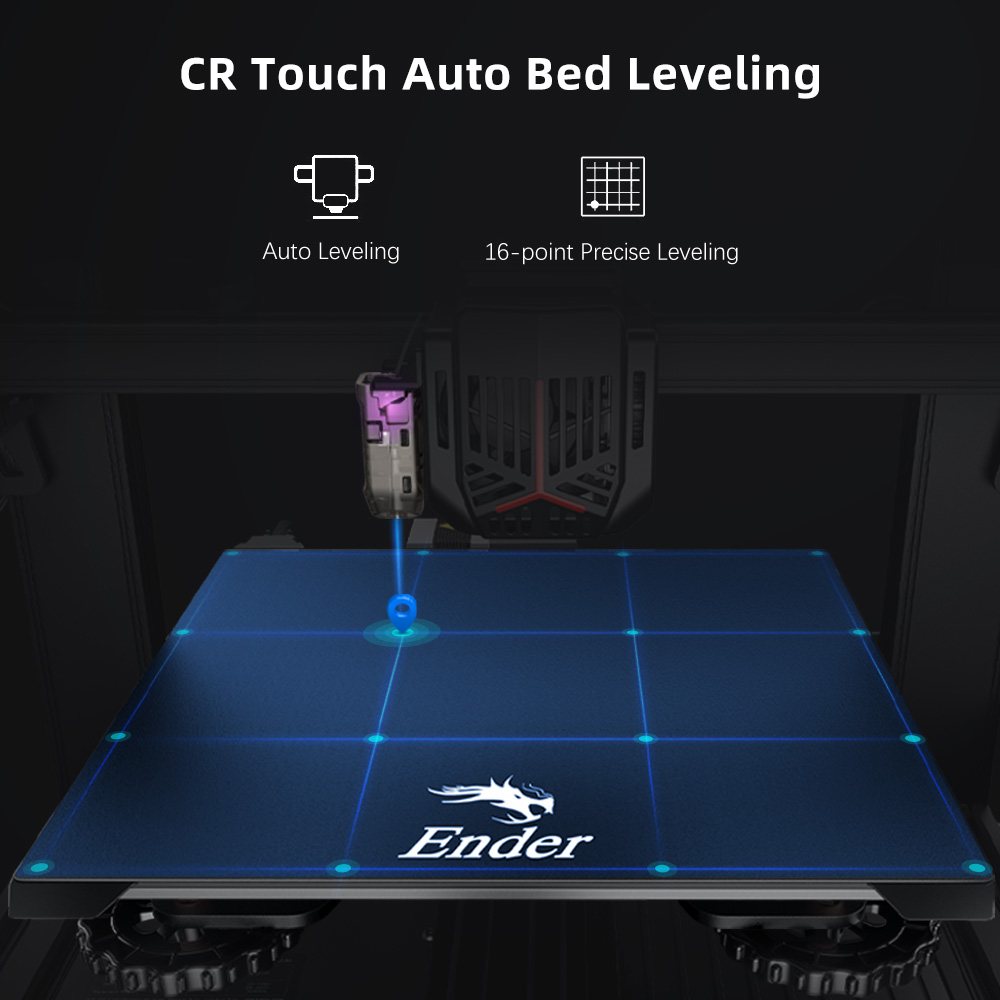
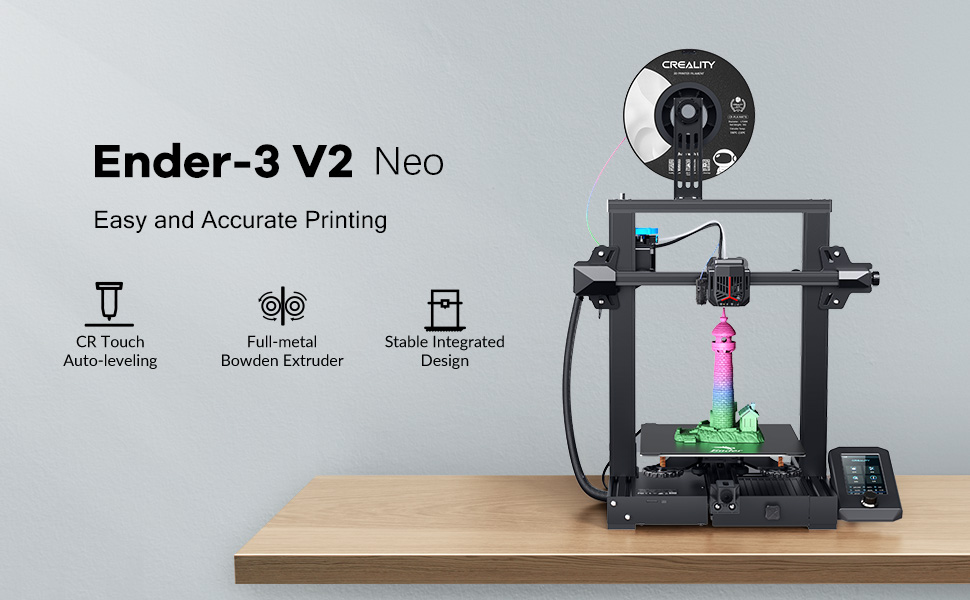
- Ender-3V2 Neo: What's upgrades, and difference between V2 and S1
Customer Reviews
Based on 7 reviews
71%
(5)
29%
(2)
0%
(0)
0%
(0)
0%
(0)
Write A Review
Ask A Question
Roger R. Bennett
The Ender-3 V2 Neo is not all that hard to set up and run. It is easy to assemble, bed leveling and setting nozzle height is simple. I also leveled the table it sits in and built a independent leveling stand, which gets the machine really level - rven befor leveling and autoleveling, Nice little machine!
Randy Garrison
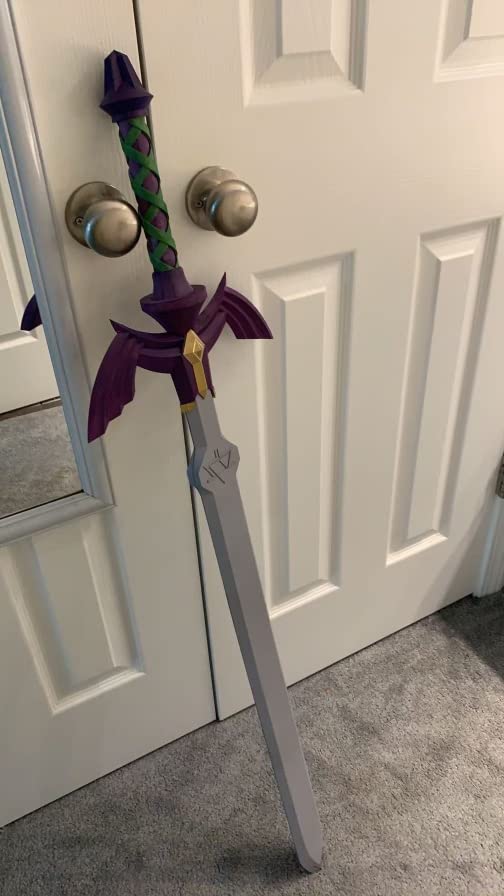
This was our 4th 3D printer brand. The first 3 we’d never been able to get a single piece to print. This one thou, we started printing immediately.
Super easy to set up and begin using. I’d buy this printer and recommend it to anyone, all over again, every time.
Here’s a picture of a 3’ sword that was the first thing we printed right out of the box.
Craig
I received this yesterday, spent about an hour setting it up but could have done it faster if I wanted to. I was printing within the hour. The directions that come with it aren't very good. Watch the install video and it walks you through it.
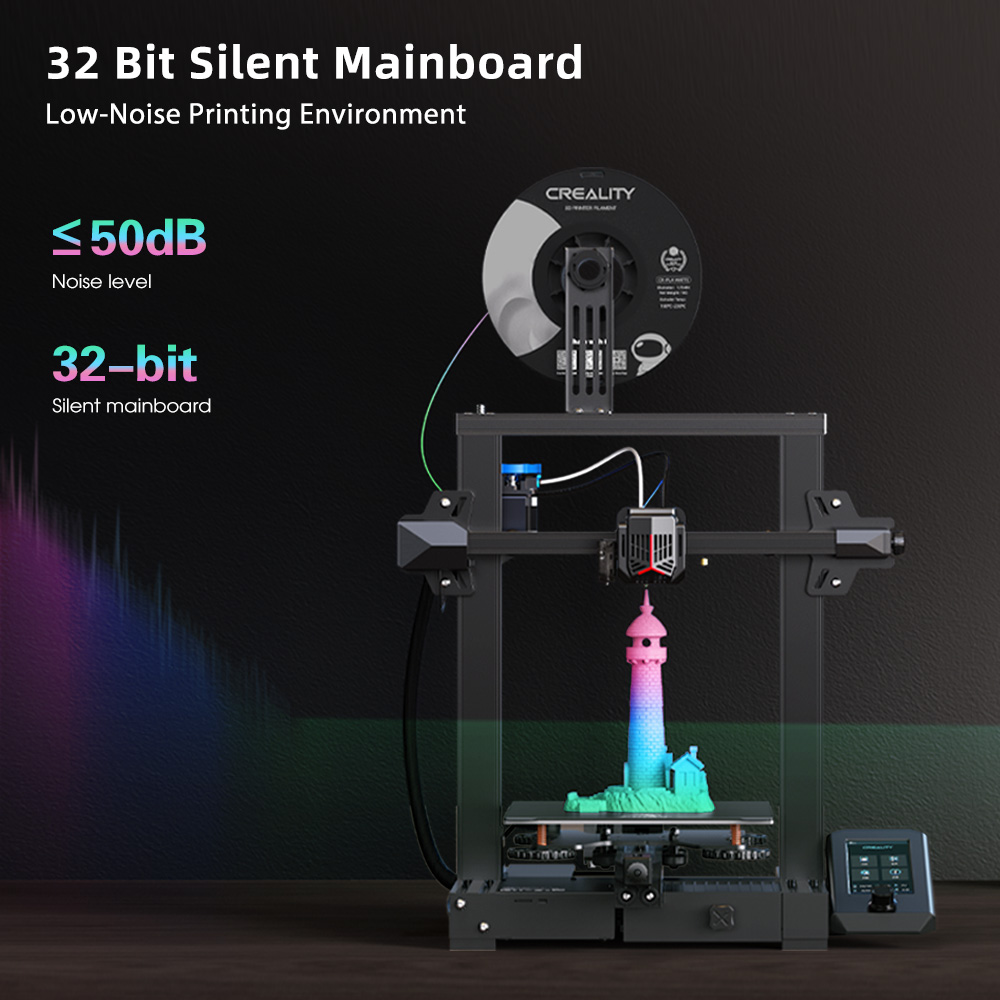
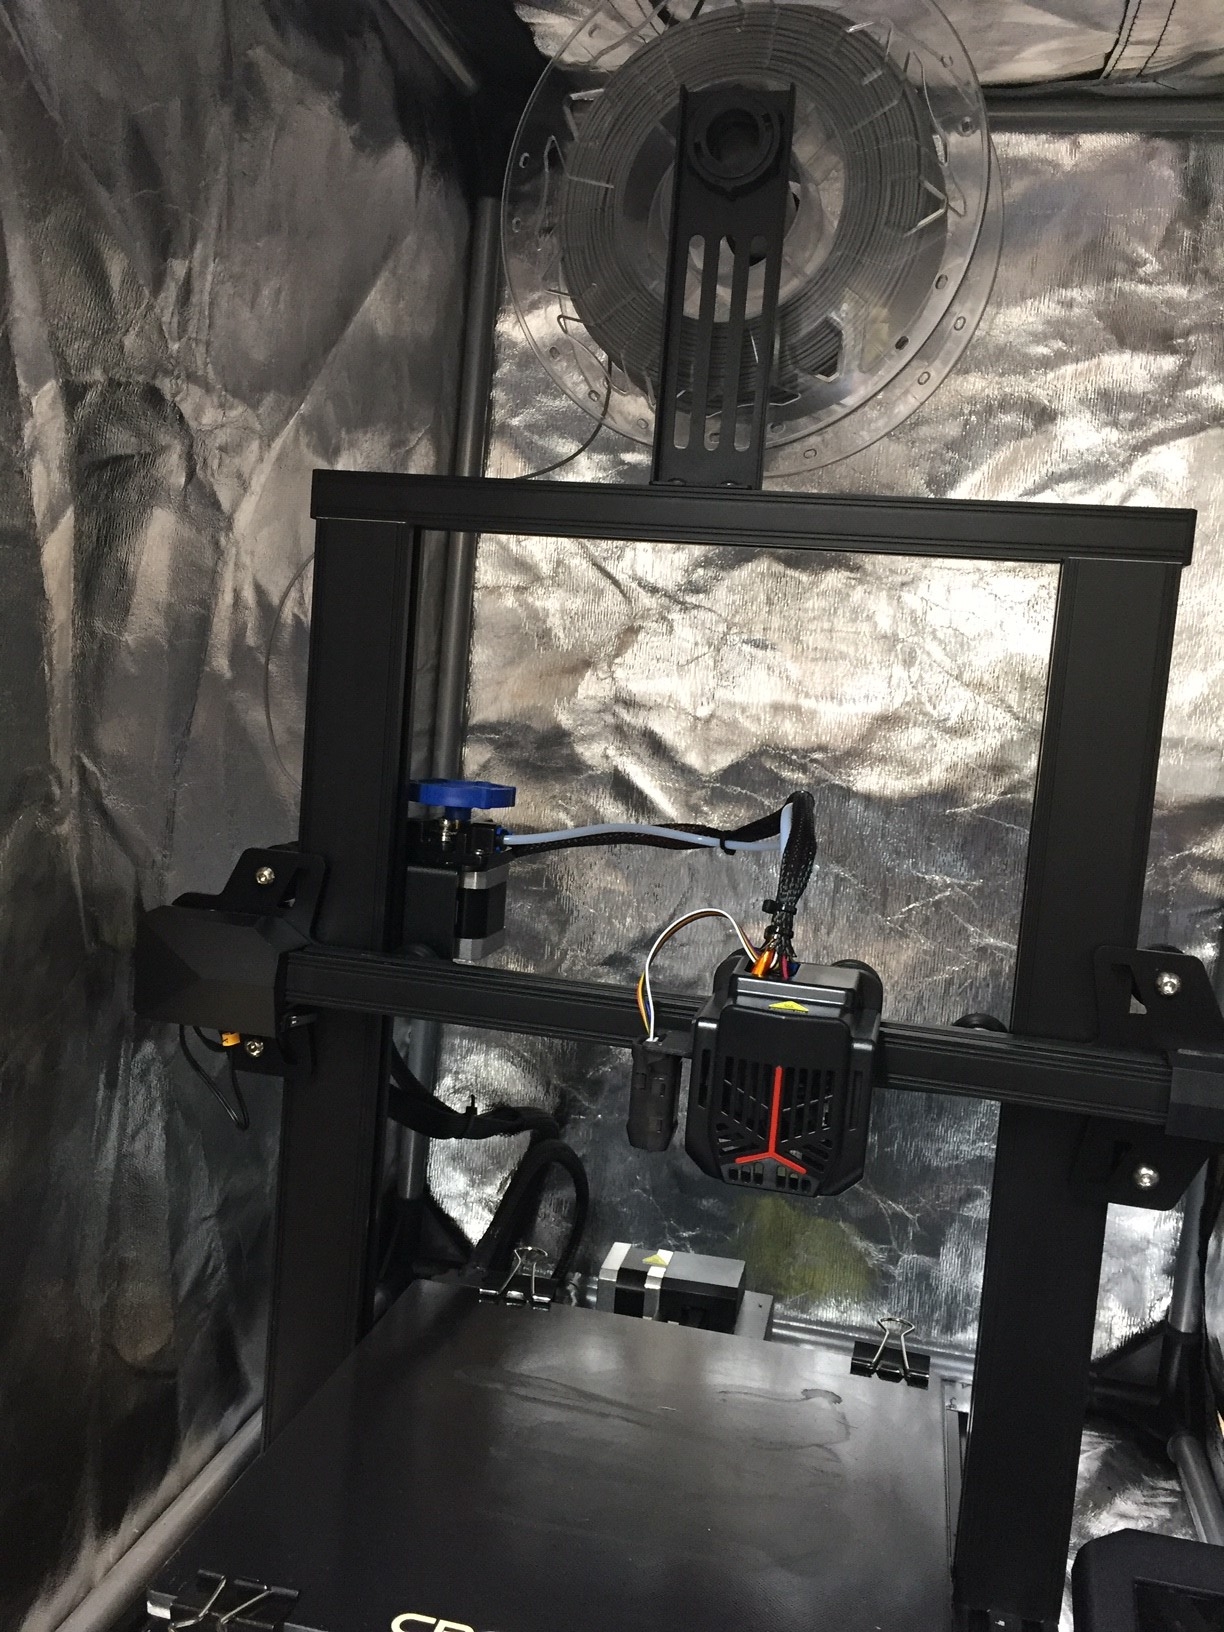
My only complaint is the power supply fan is VERY noisy and run all of the time. It seems like a common issue with the V2 printers. I watched a few YT videos about replacing the fans. I found a direct fan replacement and will get it ordered and hopefully quiet this down, otherwise I'm going to move the printer to another room.
Allyson Spencer
My two sons, ages 12 and 13 requested this product to create their own 3D objects at home. They were able to assemble the machine all by themselves! They watched videos on how to use the machine and after a couple trial and error attempts they were able to print amazing projects. In just a few days however, the screen started glitching. This caused problems setting up the print jobs. My son and I reached out to the company to report our issue and they responded quickly and sent a new screen within the week, no questions asked! Great customer service!! We have the printer up and running again and it is working great! Very satisfied!
Michael Bienek
SUMMARY:
Exceptionally pleased with this purchase. 100% satisfied.
PROS:
* Whoever designed the packaging for this printer should get a gold metal. They did a superb job. It sends an obvious message that the company is all about quality.
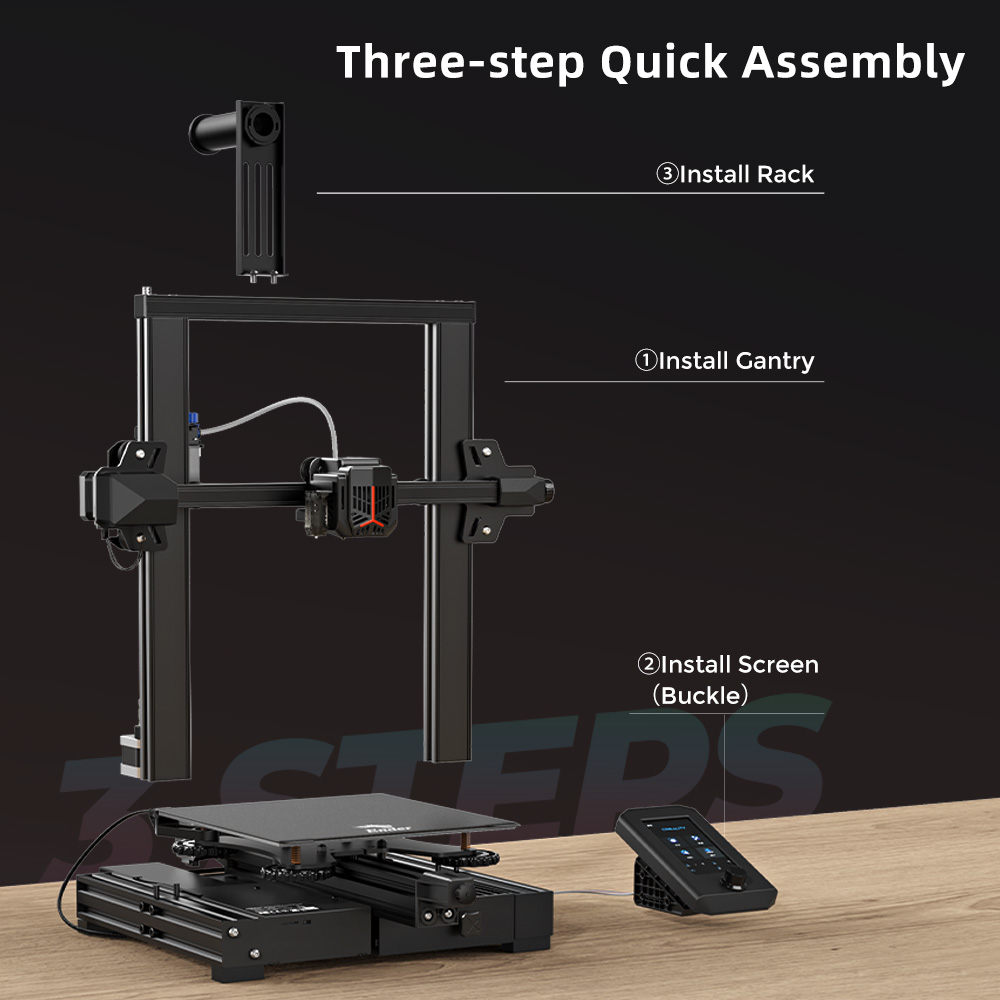
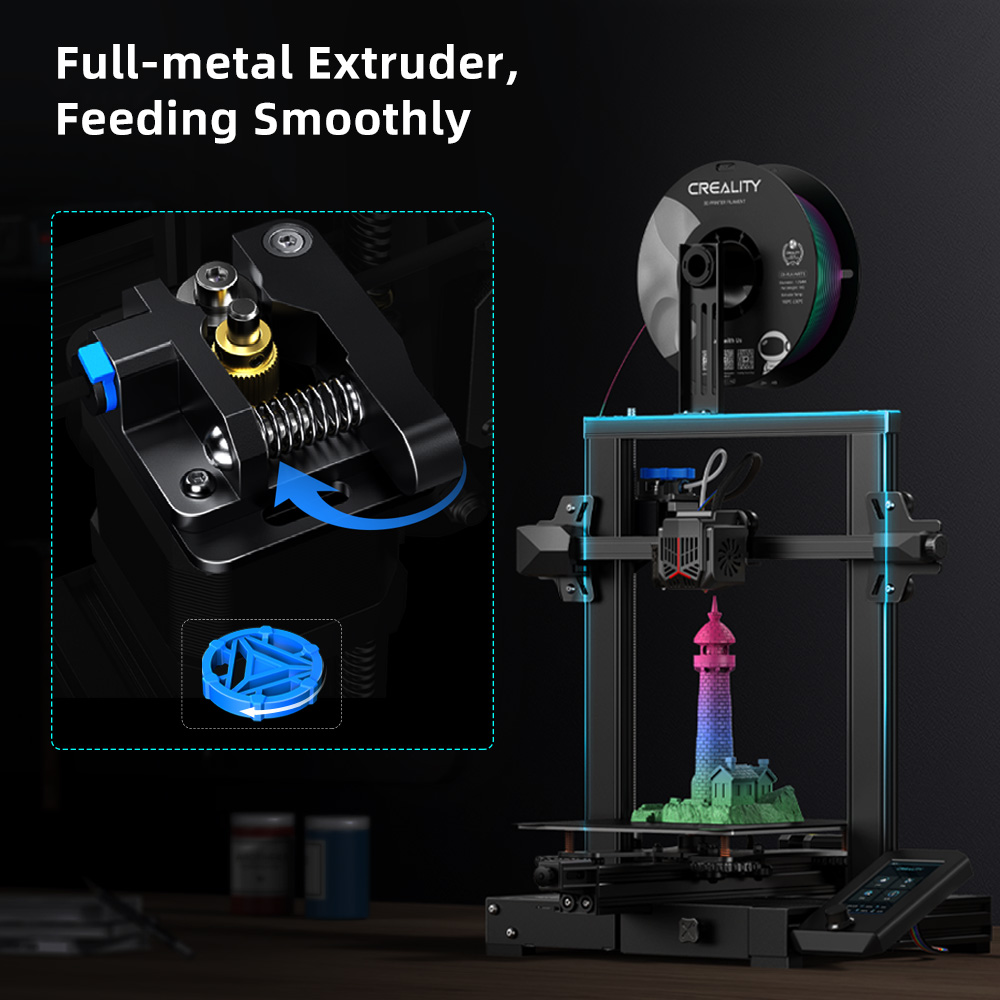
* The minor amount of assembly required for a Neo was simple, easy and everything locked in very solid. FYI: The included micro SD card has a video showing how to assemble also. The one thing it took me a minute to figure out is that there is a lever on the extruder that you have to hold depressed to get the filament to load. When assembled, the whole frame is really locked in and stable.
* The commands on the user interface took just a little exploring but after once through everything seems pretty obvious.
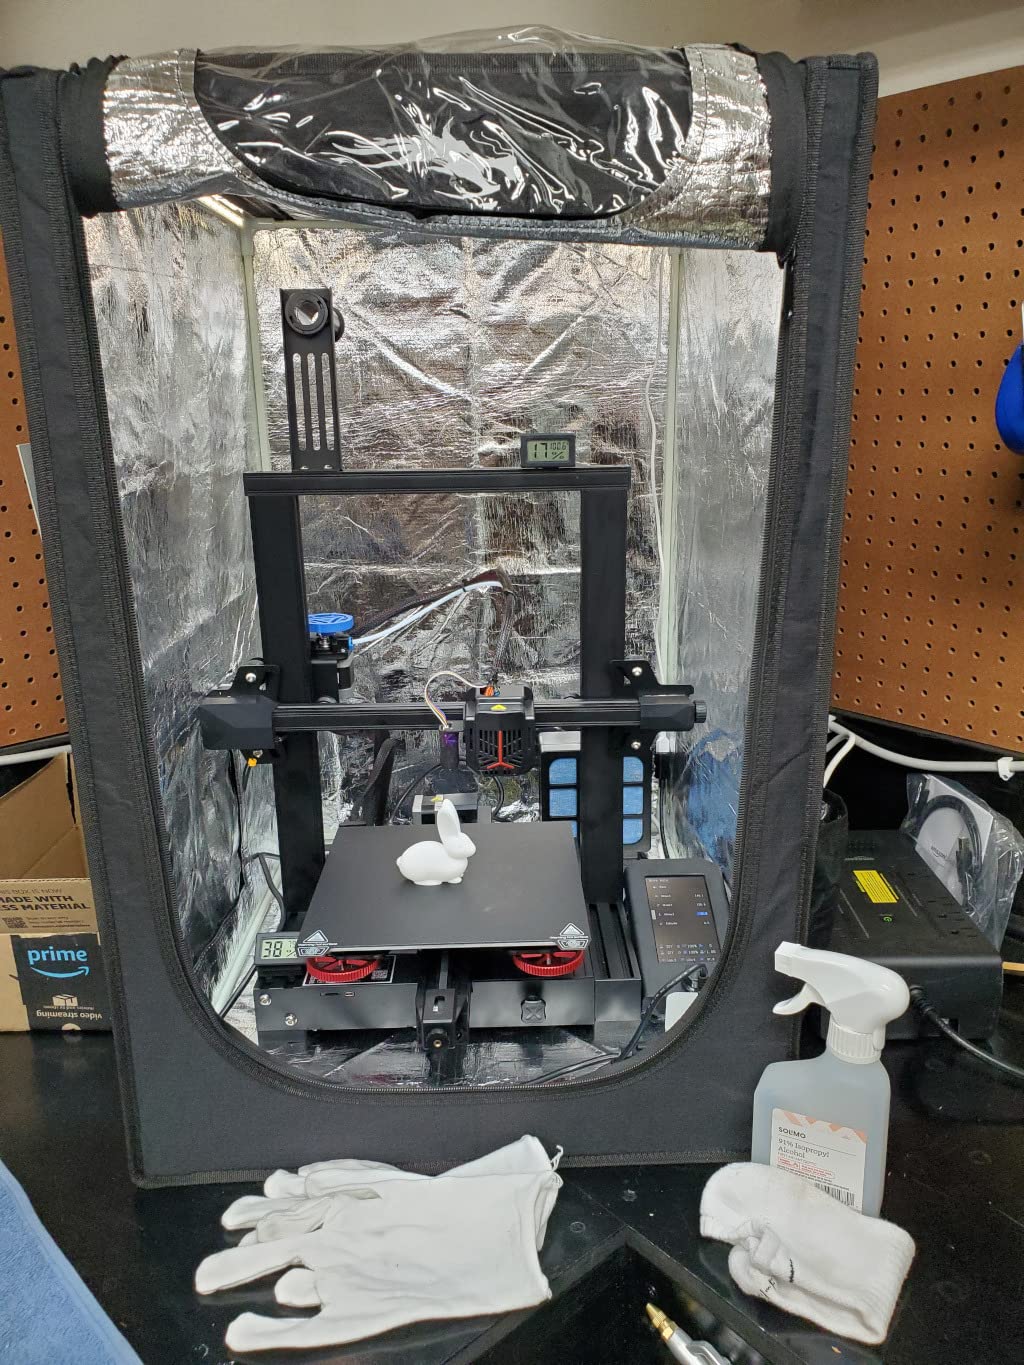
* Time from unpacking, watching videos, building, setting up everything and starting to print was approx. 45 minutes.
* The first print (I did the example rabbit) came out beautiful.
* As a first time user I went through a little bit of learning spell with the Cura slicing software and it's options but now I have printed a dozen functional objects I have designed without a single hitch. FYI: The Creality slicer is only for windows, Cura is a highly recommended option for us LInux users.
* The machine tolerances during printing are very good and very repeatable. I have found that if you only need 5 thousandths of inch difference between two objects for one to plug into another. Note that is not the tolerance of the machine, that is something you would need to do anyway and it the works even with two objects being printed.
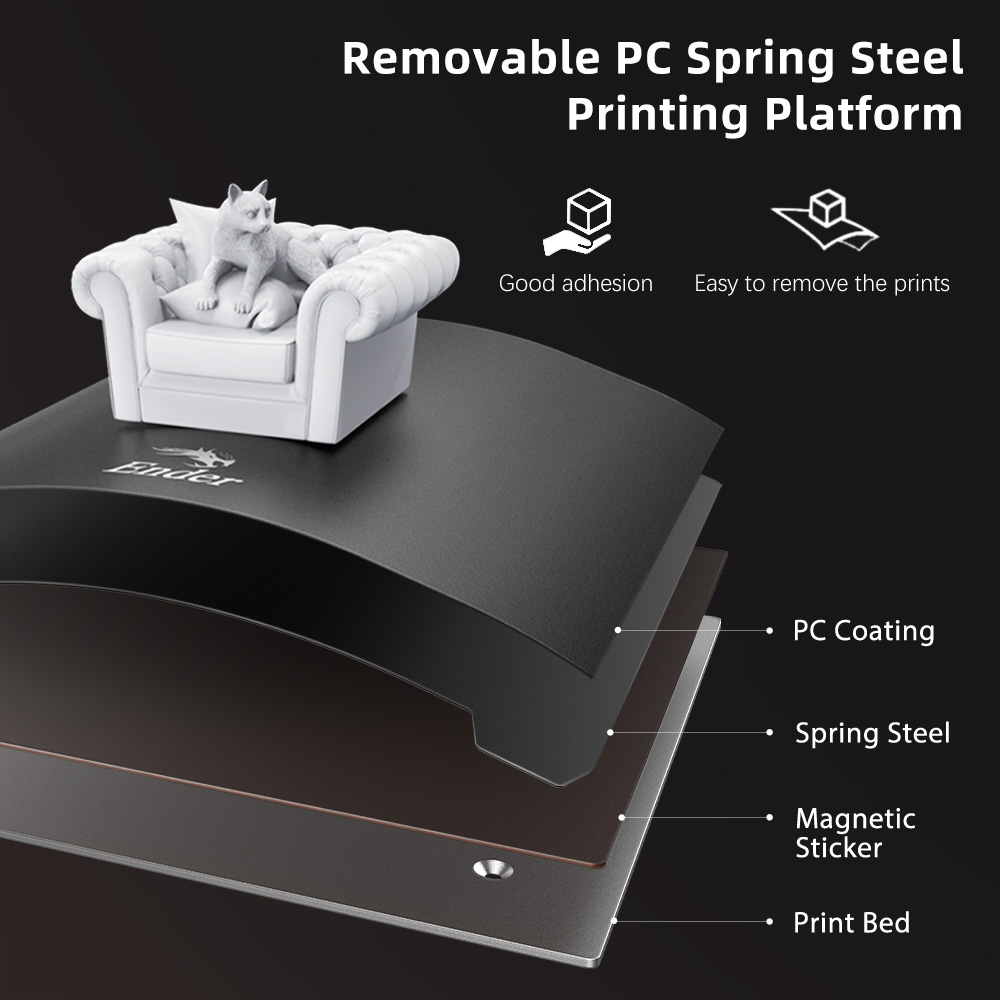
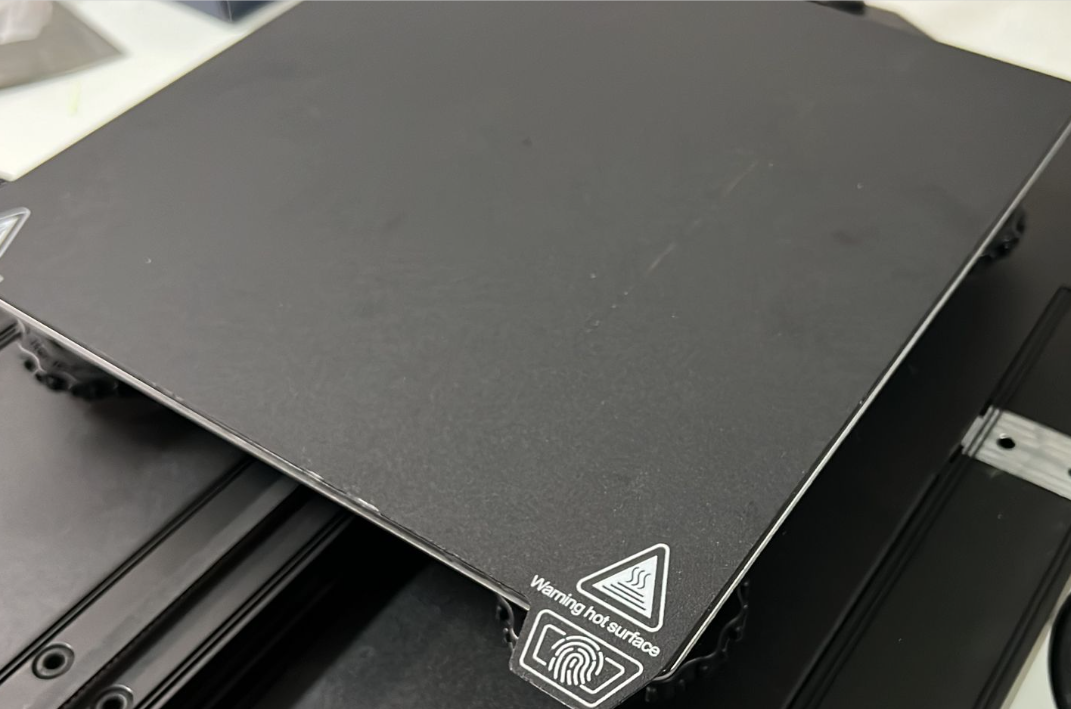
* I have seen a lot of videos on problems with getting a print to 'unstick' from the print surface. That is NOT an issue here. With the magnetic sheet I slide it part way off of the bed and hold one end to the bed while flexing it and every print has released perfectly. Absolutely trivial to release and the print looks great on the bottom too.
* 100% confident this is going to be a lot of fun to play with.
Andrew P Baker
I've had my printer for a couple weeks at this point and have probably 100+ print hours on it, and have put almost 2kg of filament through it. Initially I had issues with bed adhesion but after taking the time to carefully re-level the issue was resolved. Honestly, I still feel a glass bed will better than this PC Material
I am using cura slicer which I have found to be very beginner friendly.
Casey C
Q
How long does it take to assemble the machine?
A
Generally ranging from 10 to 30 minutes, it takes less time to get familiar.
NorCalWineLife
Q
After the machine is installed, why does the platform sway?
A
Adjust the eccentric nut at the V wheel of the hot bed, if it is too loose, it will shake, if it is too tight, it will stagnate.
Dylan…
Q
What should I do if the nozzle kit shakes after the machine is installed?
A
Tighten the eccentric nut on the back plate of the spray head kit, after debugging, it can slide left and right, if it is tight, it will be stuck, if loose, it will shake.
Michael Schwarz
Q
What should I do if the card slot does not respond to card reading?
A
1. Format the SD card; 2. Check whether the card slot is loose; 3. Please clean the card slot with alcohol to oxidize it; 4.Replace the card slot / motherboard.
$
USD
$
USD
Flash Sale
ADD TO CART
BUY IT NOW
Write a review
*Name
*Email
*Body of Review
*Rating
Customer Image
Submit Review
Ask a Question
*Name
*Email
*Question
Submit Question