BL Touch Auto Bed Leveling Sensor For Ender Series 8 bit Mainboard
$ USD
$ USD
Ship From
Apply to

Please select product attributes before purchasing~~
Ship to
It is expected to arrive within and will cost
$
USD to ship
This item can't be shipped to this Country/Region
Bundles
${ meal.title }
${ meal.skus }
${ sku.name }:
${ skuVal }
$${
meal.price }USD
$${
meal.oldPrice }USD
Quantity
28 Available
Add To Cart
Buy It Now
People who bought this item also bought
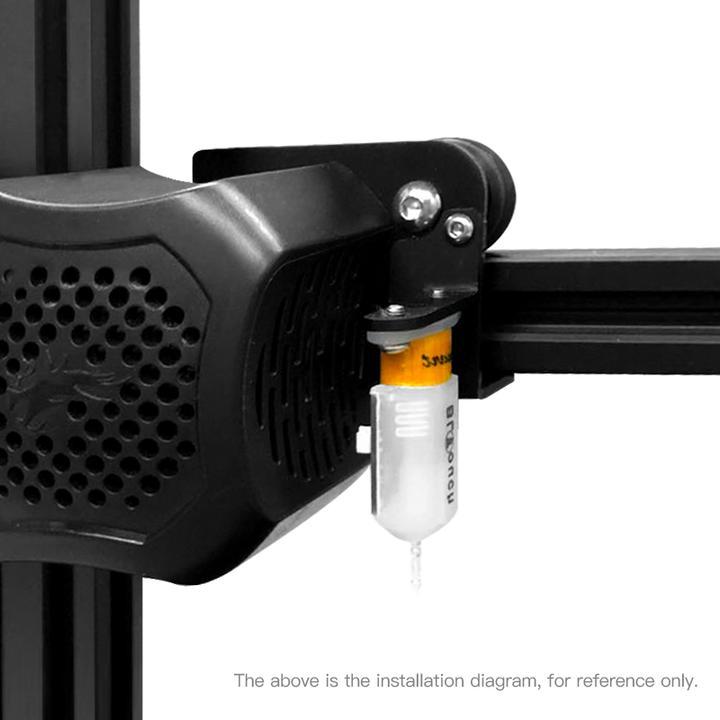
How to Install Creality BL Touch?

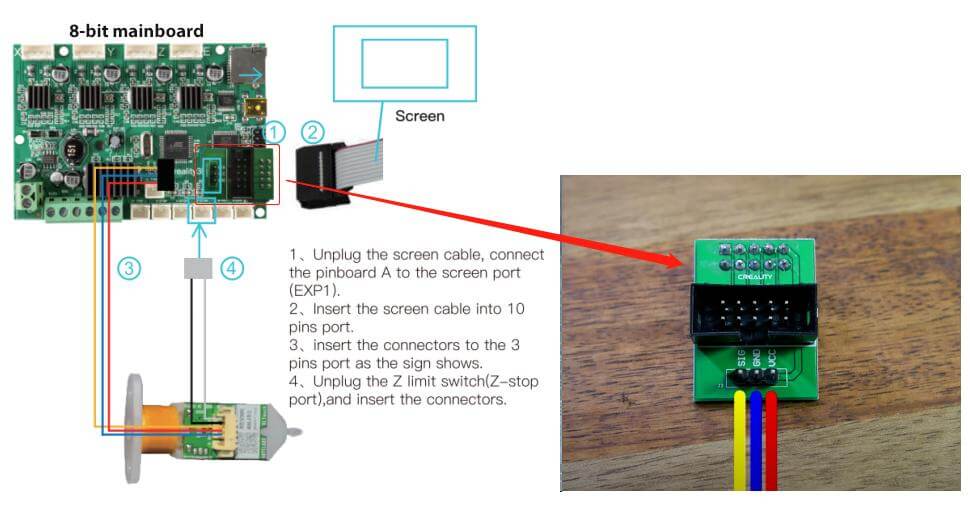
How to connect the wiring?
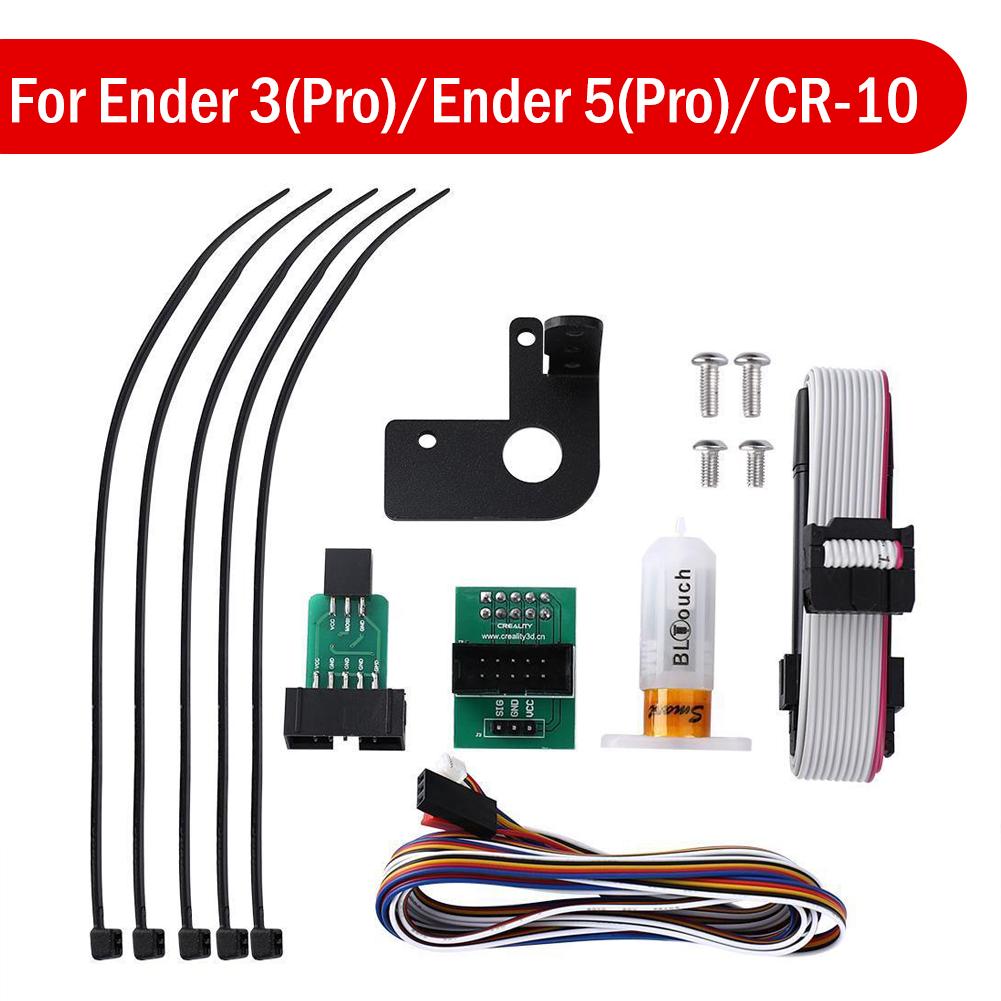
Step 1: Plug in the BL touch extension cable into Pinboard A. It needs to be in the correct orientation to avoid blowing anything up, so read the label on Pinboard A and plug the BL touch extension cable in alignment.Step 2: Pinboard A plugs into the space where the LCD ribbon cable was. Take care to make sure it is centered as it is possible to plug in misaligned.
Step 3: There are three stop plugs all in a row on the mainboard, We need to find and unplug the one that has the Z label, and then insert the BL touch black and grey cables in the correct direction.
Customer Reviews
Based on 0 reviews
0%
(0)
0%
(0)
0%
(0)
0%
(0)
0%
(0)
Write A Review
Ask A Question


$
USD
$
USD
ADD TO CART
BUY IT NOW
Write a review
*Name
*Email
*Body of Review
*Rating
Customer Image
Submit Review
Ask a Question
*Name
*Email
*Question
Submit Question


