


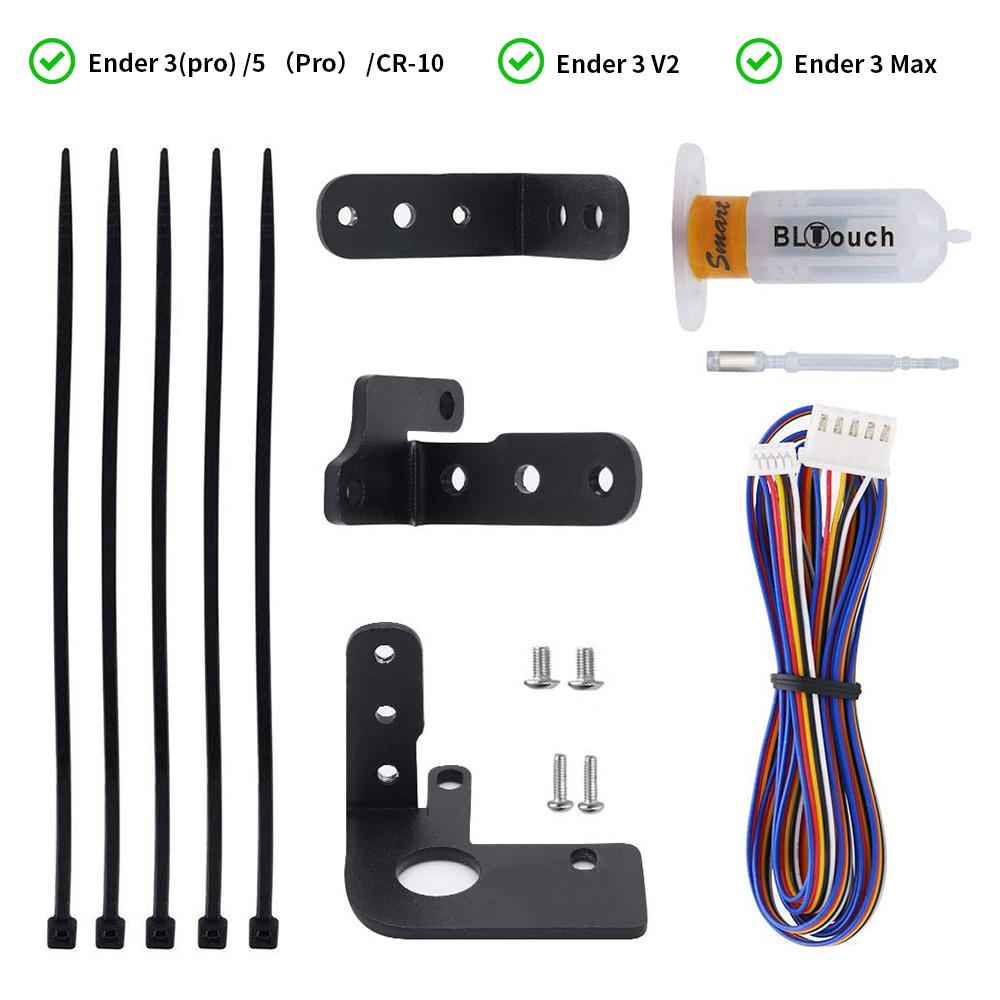
BL Touch Auto Bed Leveling Sensor For Ender Series
$ USD
$ USD
Please select product attributes before purchasing~~

BLTouch Sensor Guide: All You Need to Know
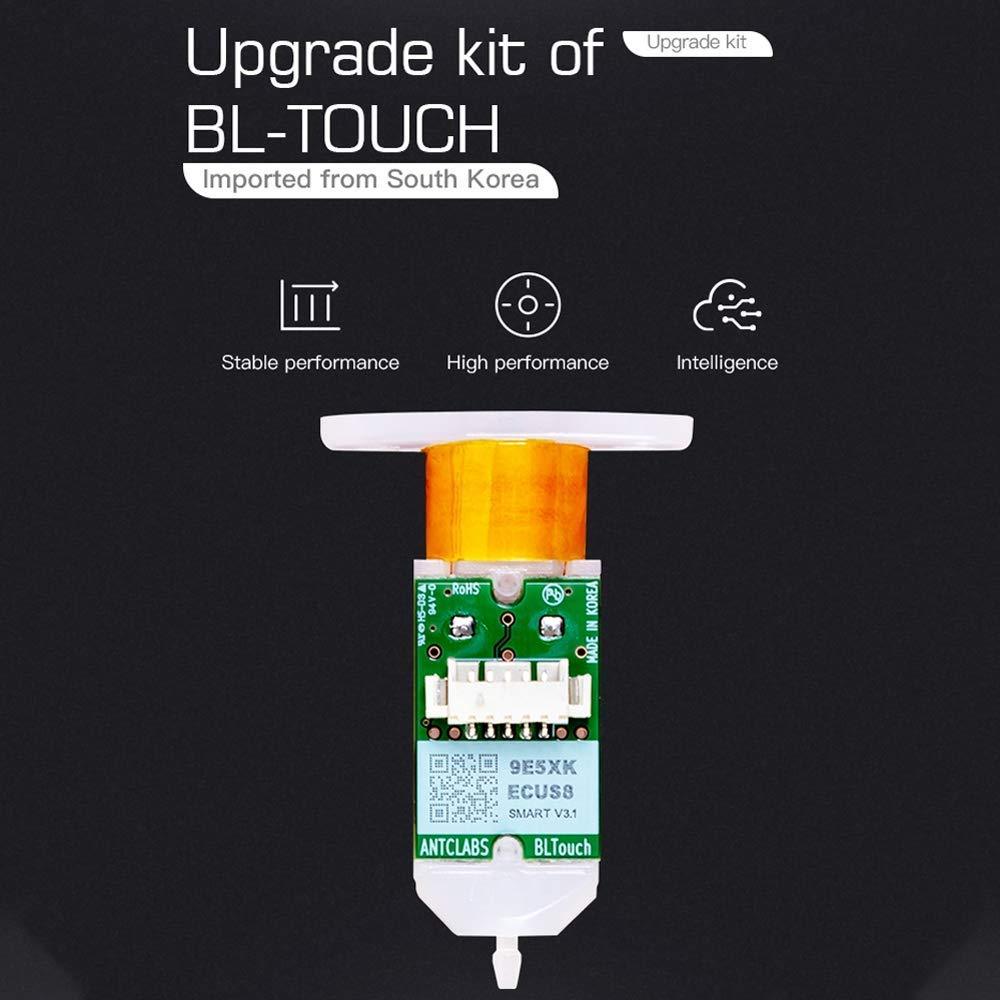
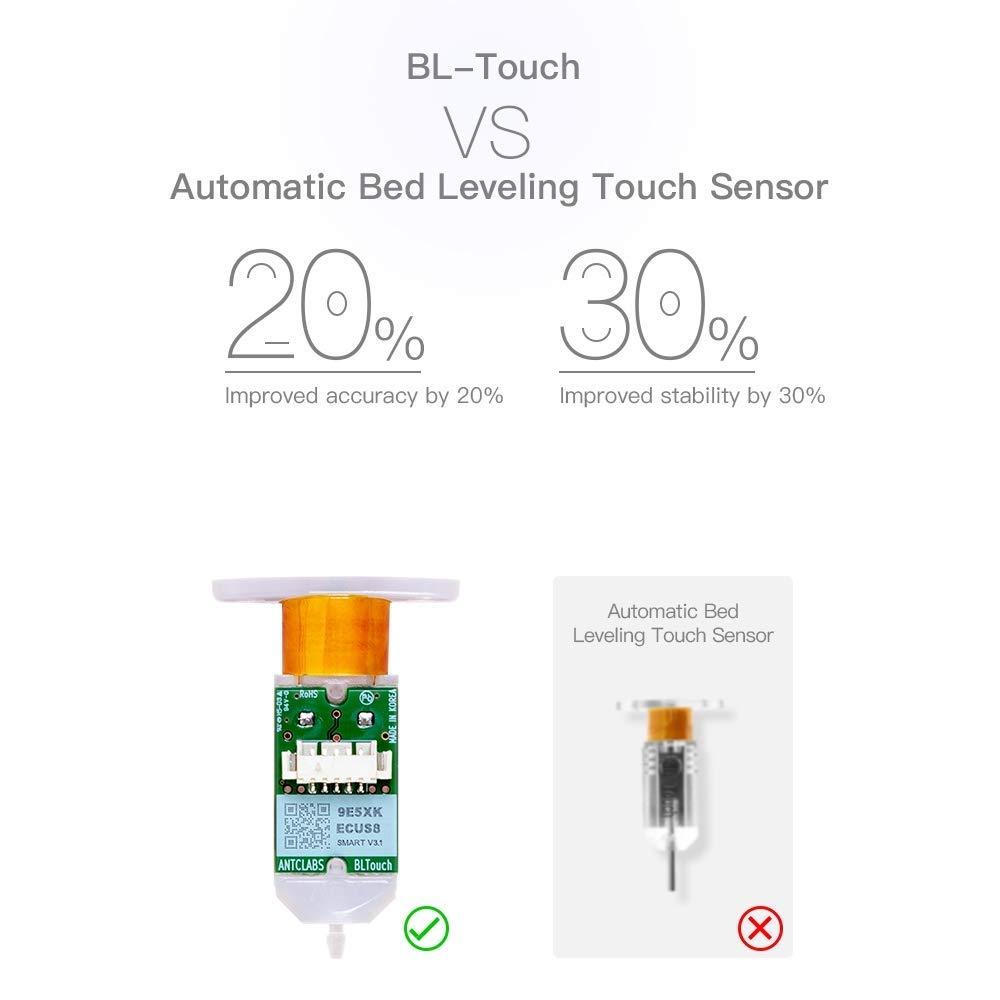
BLTouch is a type of semiconductor hall sensor and is an electronic component for 3D Printers. A precisely measures the tilt of the bed surface. It could work with any kind of bed material, such as glasses, wood, metals, and so on.
BLTouch is fulfilled with simple structure and high precision by using progressively designed solenoid and hall sensors. It aims for user convenience and enjoyable printing by adding many smart functions, such as self-test, alarm, alarm release & Touch Switch mode, Blue LED for servo signal indicating, and Z-probe(Zmin) Testing.
- Main Features: The main functions and controls of BLTouch are the same as the usual auto bed leveling sensor, which consists of an RC servo and microswitch. Thus, BLTouch can be applied on almost every board.
Self-test: The push pin operates two times in a test when the power is on.
Alarm: The LED light blinks if a problem was found on a self-test or during operation
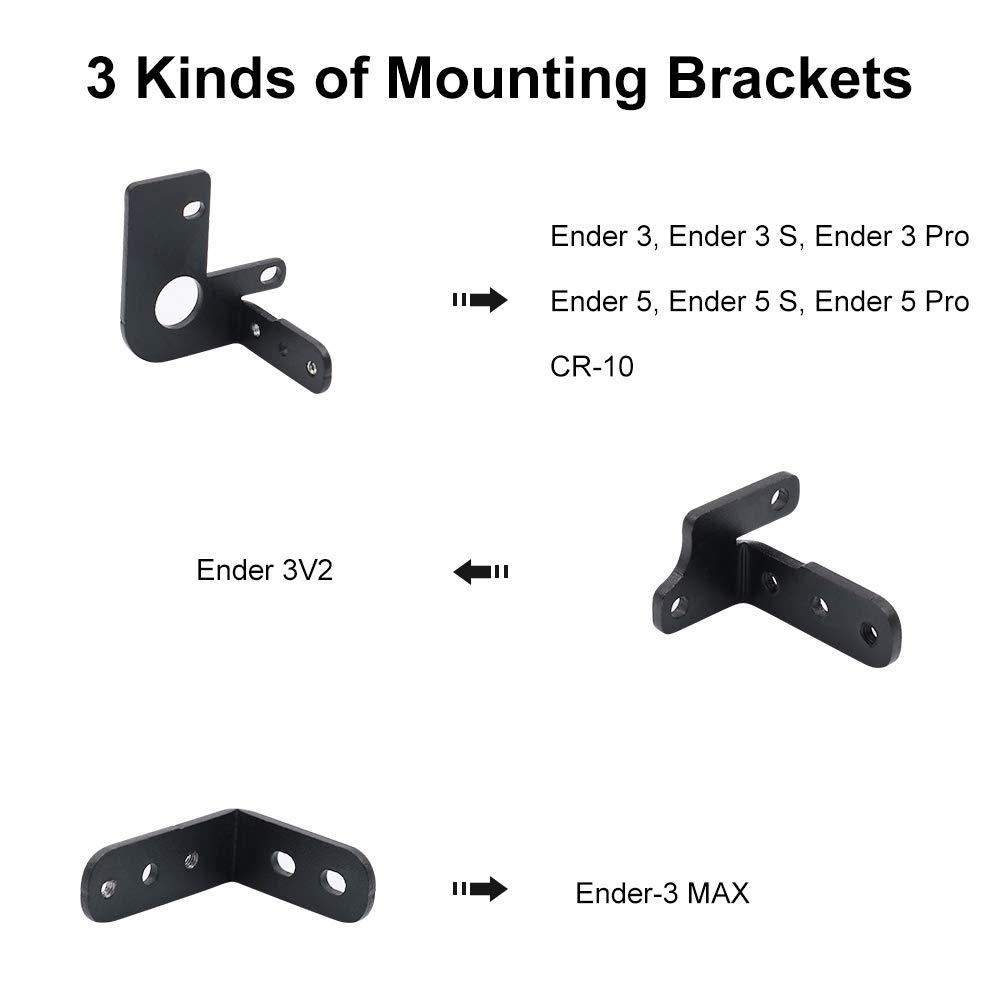
Wiring defect indicator: Blue and Red LED for indicating wiring defects. - Compatibility: This new upgraded Creality BL Touch works for Creality Ender 3 V2/Ender 3/Ender 3 Pro/Ender 3S/Ender 3 MAX/Ender 5/Ender 5 Pro/CR-10 with 32 bit V4.2.2 or V4.2.7 mainboard (Note: ONLY for 32-bit motherboard 3d printers mentioned above). With 3 kinds of install racks for different model's printer.
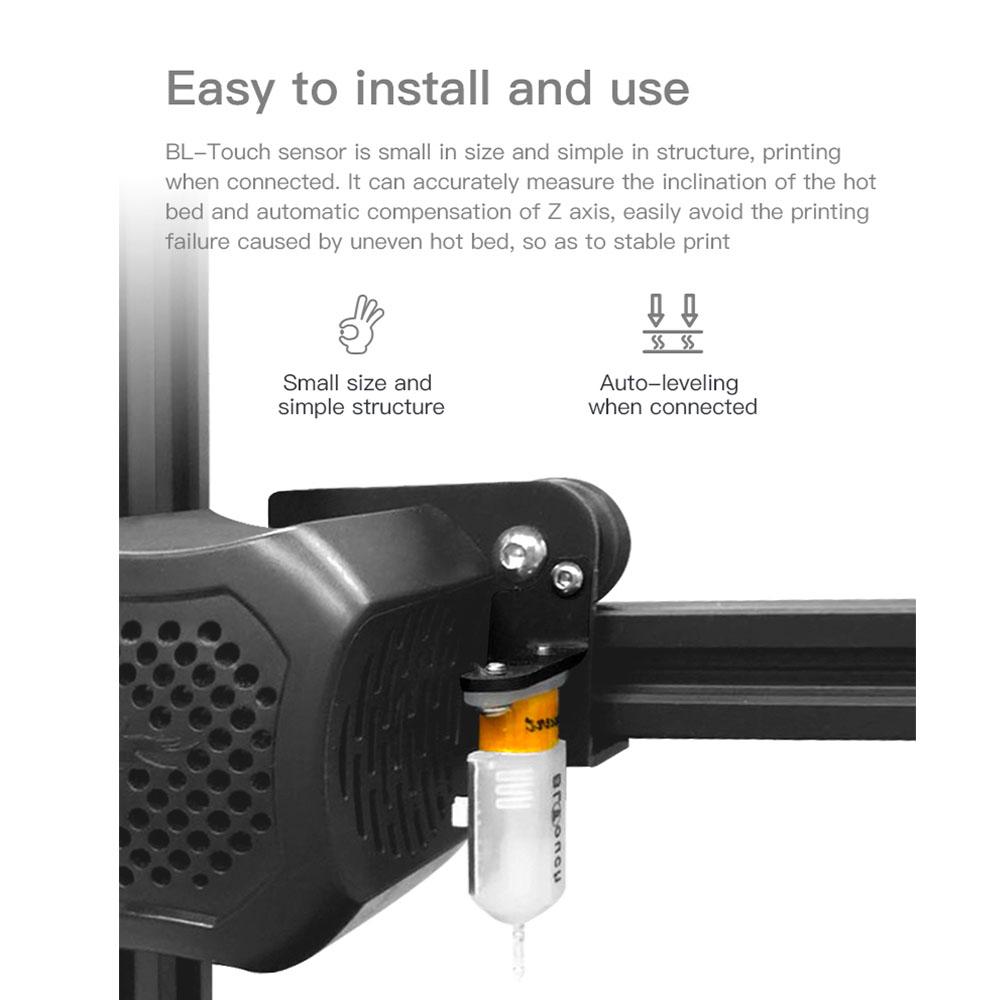
- Easy to Use: This auto bed leveling sensor makes it easier to level the hotbed, which can precisely measure the tilt of the Bed surface. Bed leveling is not a problem anymore.
- Intelligence self-check and alarm: The function of auto leveling is adopted to make it easier to use and to increase the success rate of shaping.
- Wide application: Compatible with ABS, PLA, glass, metal, plastic, and all materials.Support more filaments and apply to every control board of 3D printer
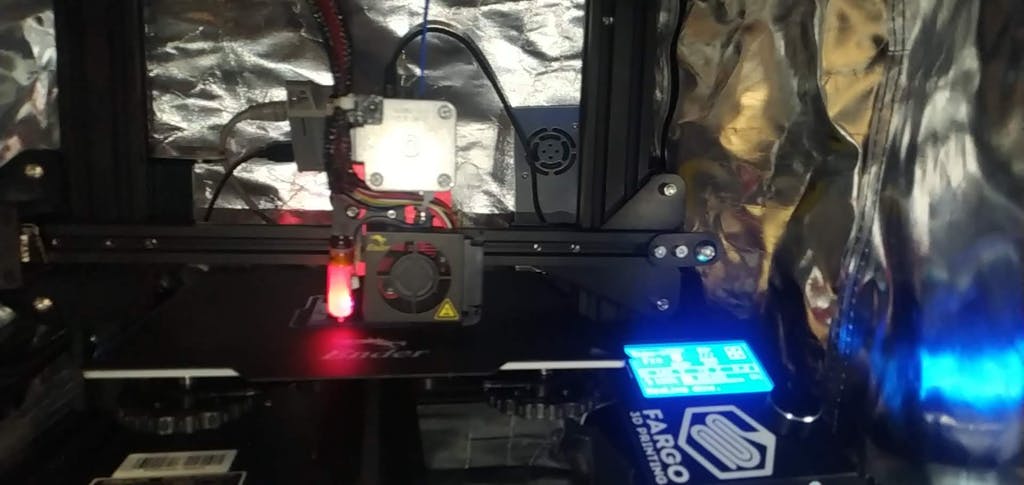
How to Install Creality BL Touch?

How to connect the wiring (Ender-3-V2 with V4.2.7 32-bit mainboard)?

Based on 32 reviews
Write A Review
Ask A Question